How to secure a Linux Server
2025-04-14
Setting up a secure server is essential for protecting your data and applications. This guide will walk you through generating SSH keys, renting a VPS, and implementing basic security measures to safeguard your server. Let’s get started.
Step 1: Generate an SSH Key Pair
Before we rent a server, we need a secure way to connect to it. We’ll use SSH keys (public/private key pair) instead of passwords, which is significantly more secure. Most operating systems (Linux, macOS, Windows with WSL or OpenSSH client) have the necessary tools pre-installed.
Open your local terminal and generate a new key pair using the modern and secure ed25519 algorithm:
ssh-keygen -t ed25519 -C "user@hostname"
-t ed25519: Specifies the key type.-C "your_email@example.com": Adds a comment to the key, usually your email or user@hostname, making it easier to identify later.
The command will prompt you for a file path and name. It’s good practice to store SSH keys in the ~/.ssh/ directory. To keep things organized, give it a specific name, for example:
Enter file in which to save the key (/home/user/.ssh/id_ed25519): ~/.ssh/tutorial-server
You’ll also be asked for a passphrase. Adding a passphrase encrypts your private key on disk, providing an extra layer of security; it’s not necessary if you have an encrypted hard drive.
This creates two files in your ~/.ssh folder:
tutorial-server(Private Key - Keep this secret!)tutorial-server.pub(Public Key - This is what you share)
Now, display the public key content. You’ll need to copy this shortly.
cat ~/.ssh/tutorial-server.pub

Copy the entire output (starting with ssh-ed25519... and ending with your comment).
Step 2: Rent a VPS
There are many cloud providers (AWS, Google Cloud, Azure, DigitalOcean, Linode, Vultr, etc.). For this guide, we’ll use Hetzner Cloud because it offers excellent performance for its price. However, the general steps are similar across most providers. A small instance on Hetzner often provides resources comparable to much more expensive instances on larger clouds.
- Sign up or log in to your Hetzner Cloud account.
- Create a new project if needed.
- Click “Add Server”.
- Location: Choose a server location geographically close to your target audience.
- Image: Select an Operating System. Ubuntu (the latest LTS version is usually a good choice) is recommended due to its popularity and extensive documentation. But, if you plan to use Docker it’s even better if we just choose the Docker ready instance in the apps panel which is just a Ubuntu LTS image with Docker already installed; It will save us the time of copying the commands to install Docker from the documentation.
- Type: Choose an instance type. For a simple blog or small application, the smallest shared CPU instances (like CX11 or CPX11) are usually sufficient and very affordable.
- Volumes/Network: Leave defaults unless you have specific needs.
- SSH Keys: This is crucial! Instead of setting a root password, click “Add SSH key” and paste the public key you copied earlier (
tutorial-server.pubcontent). Give it a recognizable name (e.g., “My Laptop Key”). Select this key to be installed on the server. - Name: Give your server a descriptive name (e.g.,
my-blog-server). - Click “Create & Buy Now”.

Wait a minute or two for the server to be provisioned. Once ready, Hetzner will display its public IP address.
Step 3: Initial Server Connection and Update
Your server is running! Let’s connect to it for the first time as the root user using the private SSH key we generated. Replace ipaddress with your server’s actual public IP:
ssh -i ~/.ssh/tutorial-server root@ipaddress
-i ~/.ssh/tutorial-server: Tells SSH to use your specific private key file.
You might see a message about the host’s authenticity. Type yes to continue. If you set a passphrase for your key, you’ll be prompted to enter it.
Once logged in, the first essential task is to update the server’s package list and upgrade all installed packages to their latest versions:
apt update && apt upgrade -y
apt update: Refreshes the list of available packages.apt upgrade -y: Upgrades installed packages;-yautomatically confirms prompts.
After the upgrade process completes (which might take a few minutes), it’s good practice to reboot the server to ensure all updates, especially any kernel updates, are applied correctly:
reboot
Your SSH connection will close. Wait a minute, then reconnect using the same ssh command as before.
Step 4: Secure the Server
An unprotected server exposed to the internet will attract automated bots scanning for vulnerabilities within hours. Let’s implement some basic security measures.
4.1. Create a Non-Root User
Running commands directly as root is risky. We’ll create a new user account with administrative privileges (sudo). Avoid common names like admin, your own name, or the app name. Let’s use batman as an example:
adduser batman
Follow the prompts to set a strong password and fill in the user information (you can leave most fields blank by pressing Enter).
Next, add this new user to the sudo group, allowing them to run commands with root privileges when needed:
usermod -aG sudo batman
4.2. Configure SSH Key for the New User
We need to allow batman to log in using the same SSH key we used for root.
First, switch to the new user:
su - batman
Now, inside batman’s home directory (/home/batman), create the .ssh directory and the authorized_keys file where the public key will be stored:
mkdir ~/.ssh
touch ~/.ssh/authorized_keys
SSH is very strict about permissions on these files and directories. Set them correctly:
chmod 700 ~/.ssh
chmod 600 ~/.ssh/authorized_keys
700for~/.ssh: Only the owner (batman) can read, write, and execute (needed to access the directory).600forauthorized_keys: Only the owner can read and write.
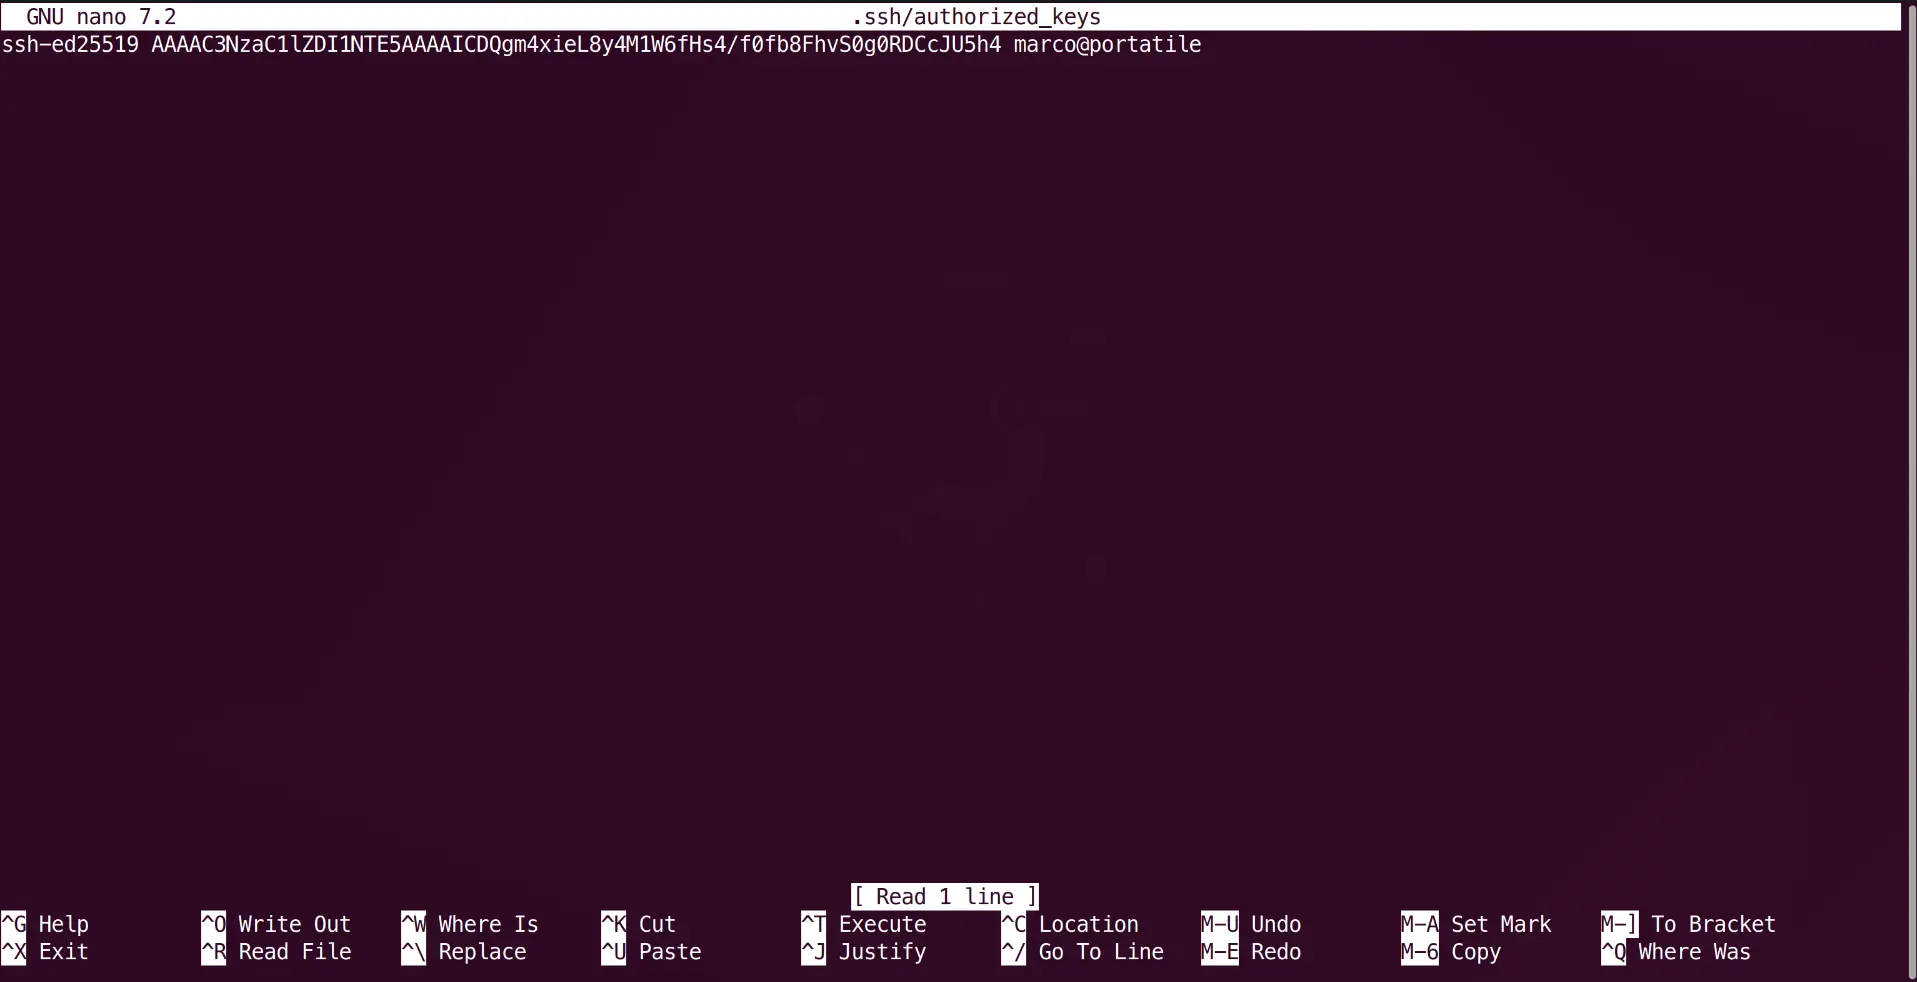
Now, open the authorized_keys file using a text editor like nano:
nano ~/.ssh/authorized_keys
Paste the same public key (tutorial-server.pub content) that you used during server creation into this file. Save the file (Ctrl+O in nano, then Enter) and exit (Ctrl+X).
Exit back to the root user session for now:
exit
4.3. Harden SSH Configuration
Let’s configure the SSH server (sshd) to be more secure by disabling root login and password-based authentication.
Open the main SSH configuration file with nano (or your preferred editor):
nano /etc/ssh/sshd_config
Find the following lines (you might need to uncomment them by removing the #) and change their values as shown:
PermitRootLogin no
PasswordAuthentication no
PermitEmptyPasswords no # Usually default, but good to ensure
PermitRootLogin no: Disables direct login as therootuser via SSH.PasswordAuthentication no: Disables the ability to log in using passwords; only SSH keys will be allowed.
Save the file (Ctrl+O, Enter) and exit (Ctrl+X).
(Note: Some guides suggest changing the default SSH port (22). While this can reduce automated scans in logs, it doesn’t significantly improve security against targeted attacks and adds complexity. We’ll stick with port 22 for this guide.)
Apply the changes by restarting the SSH service:
systemctl restart ssh
Crucial Test: Before logging out as root, open a new local terminal window and try logging in as your new user (batman) using the SSH key:
# Still use -i for this initial test
ssh -i ~/.ssh/tutorial-server batman@ipaddress
If successful, you’ve confirmed that your new user can log in with the key and that you haven’t locked yourself out! You can now safely close the original root SSH session. All future commands on the server should be run as your new user (batman), using sudo when administrative privileges are needed.
4.4. Simplify SSH Connections (Optional but Recommended)
Typing the ssh -i ... command repeatedly is tedious. You can configure your local SSH client to use the correct key and user automatically for this server.
Open (or create) the SSH configuration file on your local machine:
nano ~/.ssh/config
Add the following block, replacing ipaddress with your server’s IP and adjusting paths/usernames if you used different ones:
Host tutorial-server
    HostName ipaddress
    User batman
    IdentityFile ~/.ssh/tutorial-server
Make sure this file has secure permissions:
chmod 600 ~/.ssh/config
Now, you can connect to your server simply by typing:
ssh tutorial-server
Much easier!
4.5. Set Up the Firewall
One more critical security step: configuring a firewall. By default, all network ports might be open. We’ll use ufw (Uncomplicated Firewall), which is included with Ubuntu.
Important: Always allow SSH access before enabling the firewall to avoid locking yourself out.
Allow SSH connections (it uses the standard port 22 profile):
sudo ufw allow OpenSSH
Next, allow HTTP (port 80) and HTTPS (port 443) traffic, which our web server will need later:
sudo ufw allow 80/tcp
sudo ufw allow 443/tcp
Now, enable the firewall:
sudo ufw enable
Confirm with y when prompted.
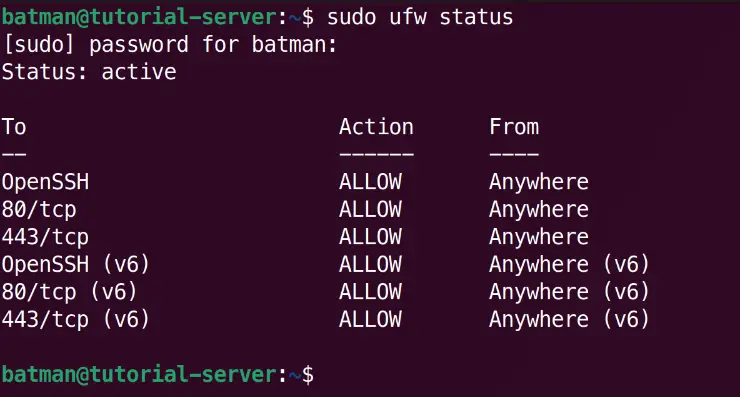
Check the status to ensure the rules are active:
sudo ufw status
You should see output indicating the firewall is active and rules allowing OpenSSH, 80/tcp, and 443/tcp. All other incoming connections will now be denied by default.
Our server is now reasonably secured!
