How to Ship Docker Containers to Production Without CI/CD or Registries
2025-04-22
So, in the last post, we rented a Linux server on Hetzner and went through the essential steps to secure your new VPS from common threats. Today, we’re continuing the quest of self-hosting applications by tackling deployment. Specifically, we’ll deploy a Docker container directly to our server without using fancy CI/CD services like GitHub Actions or public/private container registries.
This approach is fantastic for personal projects, small applications, or situations where you want a straightforward, understandable deployment process. Keep in mind, for larger teams or complex applications needing robust pipelines, you’d typically look towards more automated CI/CD solutions. But for our purposes today, this manual-turned-scripted method is perfect.
Let’s dive in!
The Application: A Simple Go Markdown Blog
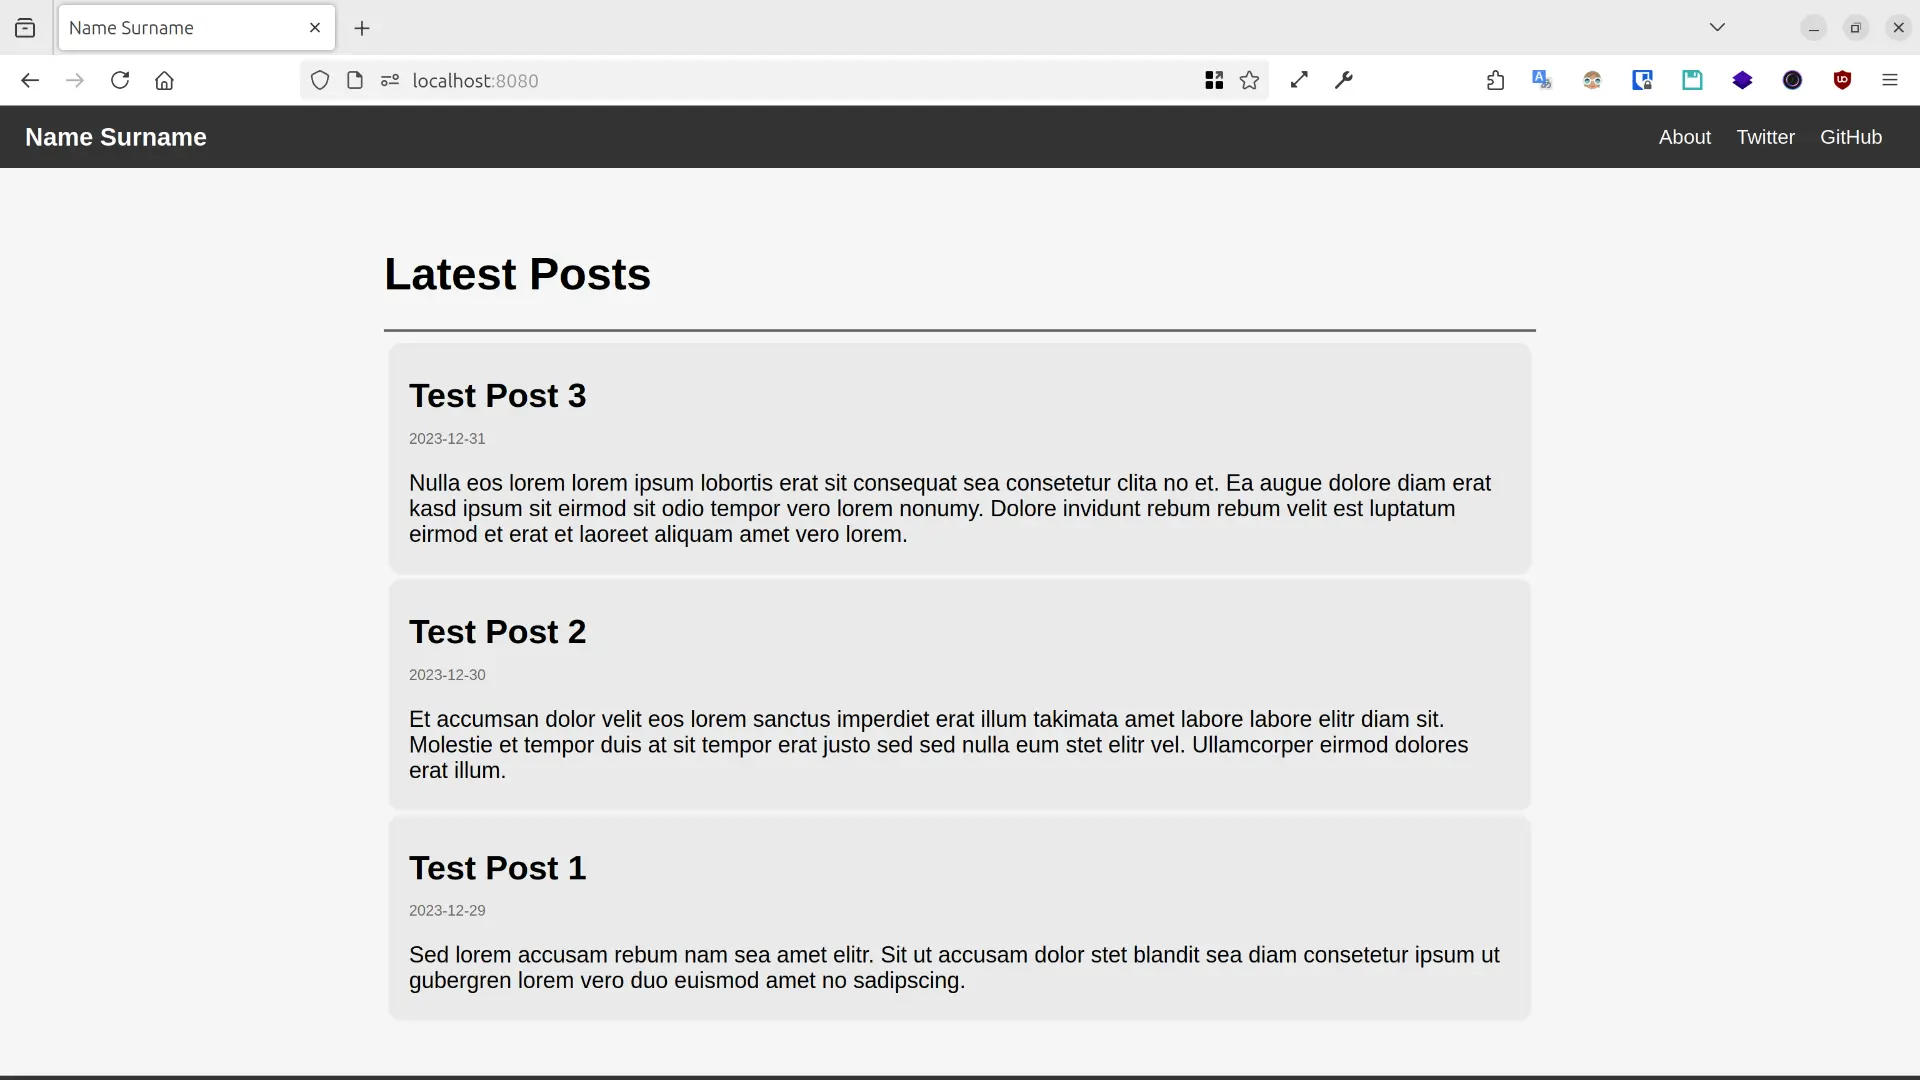
The Docker image we’ll be deploying is a simple blog engine written in Go. It takes markdown files, reads their front matter (for titles, excerpts, routing), converts them to HTML, and serves them. Simple, effective, and perfect for this demonstration.
Why Not Just Build On The Server?
You might be thinking, “Why not just git clone the repo onto the server and run docker build there? It’s already where it needs to be!”
Hold on! Building Docker images is resource-hungry. It hammers the CPU and eats RAM. Doing this directly on your production server is generally a bad idea because:
- Performance Hit: It slows down everything else running on the server, potentially impacting your actual users.
- Instability: On smaller VPS instances, a heavy build process could exhaust resources and even crash the server or other running containers.
We need a better way.
The Manual Workflow: Build Local, Ship Tarball
Instead of building remotely, we’ll follow these steps:
- Build Locally: Create the Docker image on your development machine where resources are plentiful.
- Package: Use
docker saveto export the image into a single.tarfile. This file contains all the layers, tags, and metadata. - Transfer: Securely copy (
scp) the.tarfile to your production server. - Load: On the server, use
docker loadto import the image from the.tarfile into the server’s local Docker image cache. - Run: Start the container using the newly loaded image.
Let’s see this in practice.
Step 1: Build Locally
On your local machine, navigate to your project directory and run the build command. We’ll tag our image go-markdown-blog.
docker build -t go-markdown-blog .
Step 2: Package the Image
Now, use the handy docker save command to package the image:
docker save -o go-markdown-blog.tar go-markdown-blog:latest
This creates the file go-markdown-blog.tar in your current directory.
Step 3: Transfer to Server
Use scp to send the tarball over. Replace batman with your server username and tutorial-server with your server’s IP or hostname.
scp go-markdown-blog.tar batman@tutorial-server:/home/batman
Step 4: Load Image on Server
First, SSH into your server:
ssh batman@tutorial-server
Then, use docker load to import the image from the tarball we just transferred:
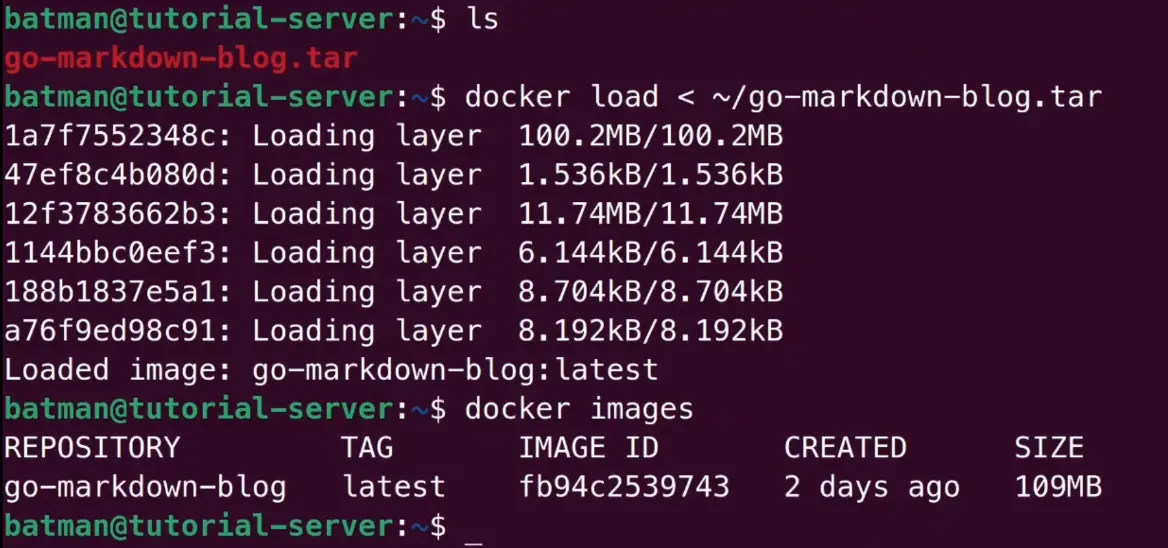
docker load < ~/go-markdown-blog.tar
Let’s check if Docker sees it:
docker images
You should see go-markdown-blog listed! It’s as if we built it right here.
Step 5: Run the Container
Time to test! Let’s run a container from this image, mapping port 80 on the server to the container’s port 8080 (assuming the Go app listens there).
docker run -d --name temp-blog-test -p 80:8080 go-markdown-blog
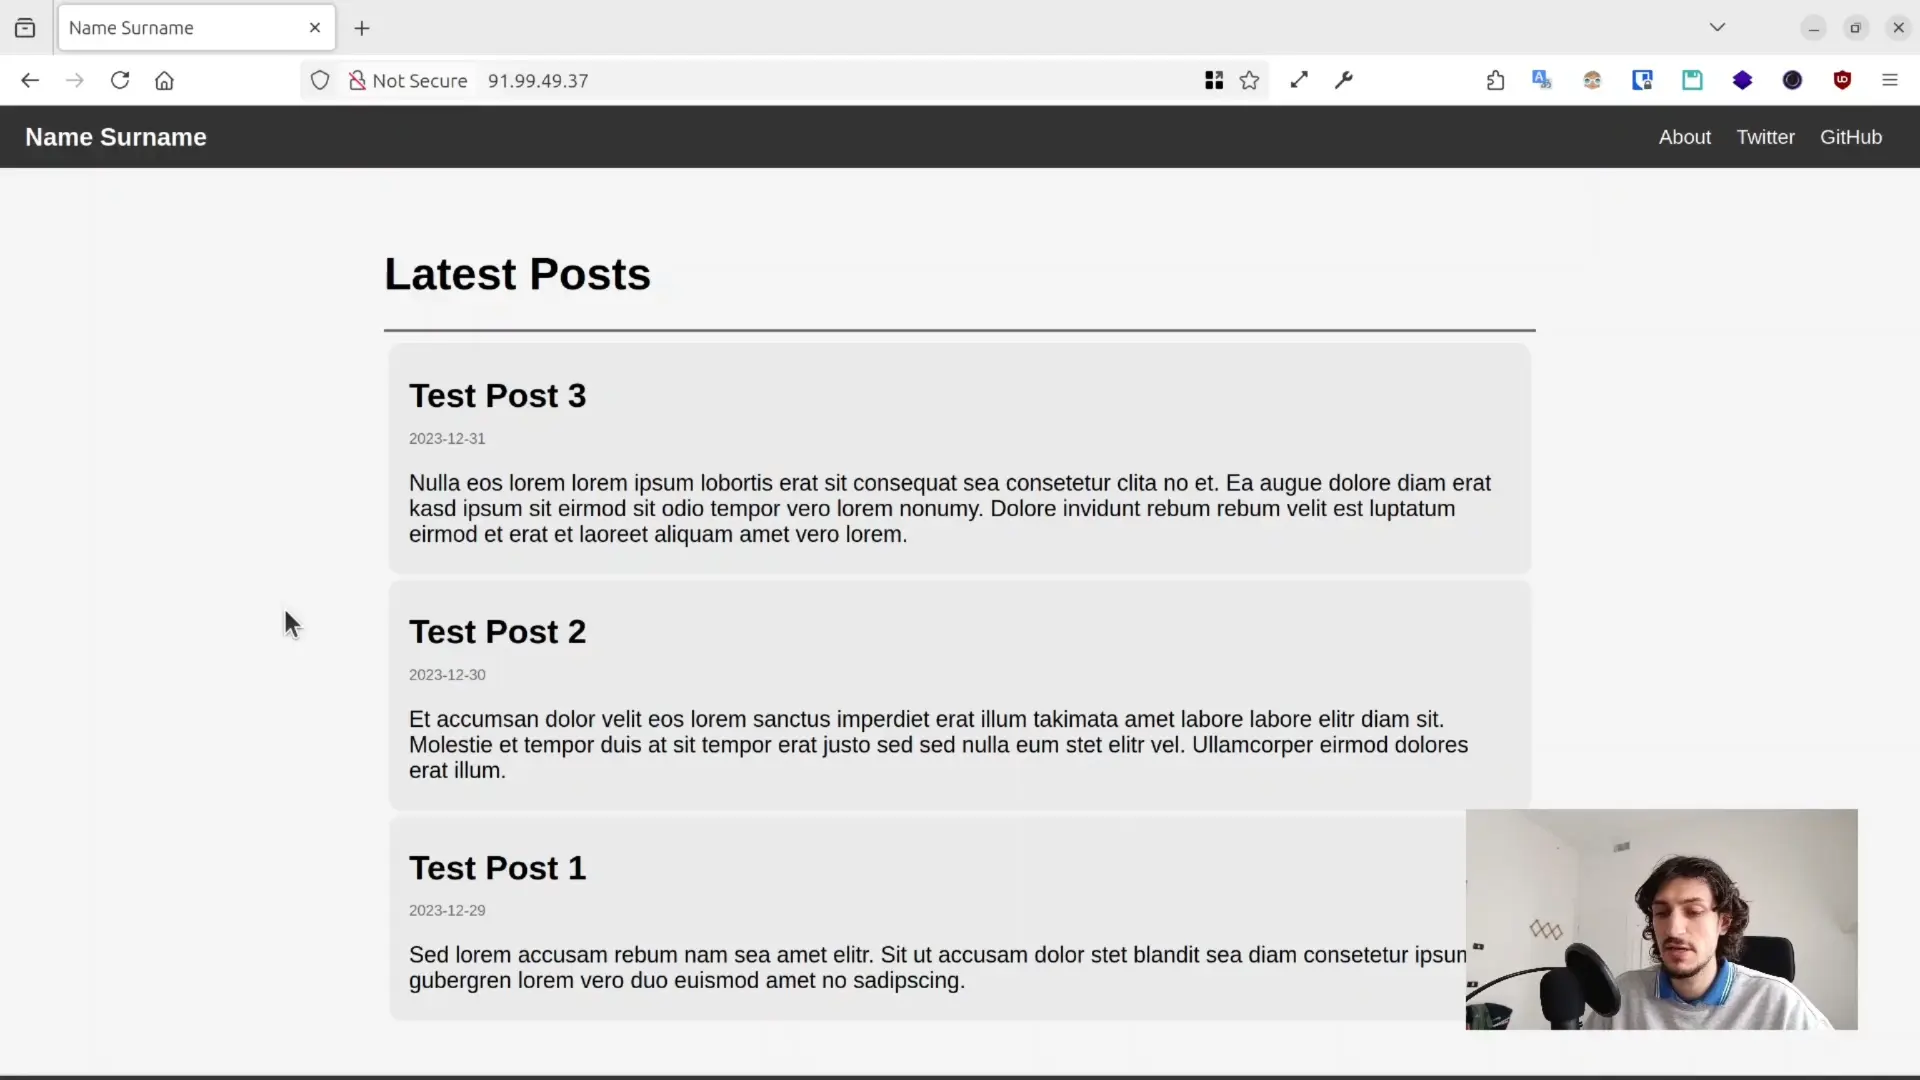
Check docker ps to see it running. Now, open your browser and navigate to your server’s public IP address. The blog should be live!
Automating with a Bash Script
Okay, that manual process works, but it’s repetitive. In programming, what’s manual can often be automated. I wrote a simple bash script (deploy.sh) to handle all these steps.
Here’s the script:
#!/bin/bash
set -e # Exit immediately if a command exits with a non-zero status.

# --- Configuration ---
PROD_SERVER="tutorial-server"       # Your server's hostname or IP
REMOTE_USER="batman"                # Your username on the server
REMOTE_BASE_DIR="/home/${REMOTE_USER}" # Base directory on the remote server
LOCAL_TEMP_DIR="/tmp/docker-images" # Temporary local storage for tarballs
REMOTE_TEMP_DIR="/tmp"              # Temporary remote storage for tarballs

# Create local temp directory if it doesn't exist
mkdir -p ${LOCAL_TEMP_DIR}

# --- Function to deploy a single service ---
deploy_service() {
    local service=$1
    local build_context="." # Default context is current directory

    echo ">>> Deploying service: $service <<<"

    # --- Define image names ---
    # Adjust these based on your image naming conventions
    local local_build_tag="${service}:latest"
    local final_prod_tag="${service}:latest" # We use the same tag here
    local tar_filename="${service}.tar"
    local local_tar_path="${LOCAL_TEMP_DIR}/${tar_filename}"
    local remote_tar_path="${REMOTE_TEMP_DIR}/${tar_filename}"

    # --- 1. Build the image locally ---
    echo "Building image: ${local_build_tag}..."
    # Choose the correct build command for your ARCHITECTURE:
    # If building on Apple Silicon (ARM) FOR an ARM server (like Ampere on Hetzner):
    docker buildx build --platform linux/arm64 -t ${local_build_tag} ${build_context}
    # If building on standard Intel/AMD (x86_64) FOR an x86_64 server:
    # docker build -t ${local_build_tag} ${build_context}
    # If building on Apple Silicon (ARM) FOR an x86_64 server:
    # docker buildx build --platform linux/amd64 -t ${local_build_tag} ${build_context}


    # --- Tagging (If needed, we tag before saving) ---
    if [ "$local_build_tag" != "$final_prod_tag" ]; then
        echo "Tagging ${local_build_tag} as ${final_prod_tag}..."
        docker tag ${local_build_tag} ${final_prod_tag}
    fi

    # --- 2. Save the image to a tar file ---
    echo "Saving image ${final_prod_tag} to ${local_tar_path}..."
    docker save ${final_prod_tag} > ${local_tar_path}

    # --- 3. Transfer the image to production server ---
    echo "Transferring ${local_tar_path} to ${PROD_SERVER}:${REMOTE_TEMP_DIR}..."
    scp ${local_tar_path} ${REMOTE_USER}@${PROD_SERVER}:${REMOTE_TEMP_DIR}/

    # --- 4. Load the image & Cleanup Remote Tar ---
    echo "Loading image on ${PROD_SERVER} from ${remote_tar_path}..."
    # We SSH in, load from the temp tar, and immediately remove the tar file on the server
    ssh ${REMOTE_USER}@${PROD_SERVER} "docker load < ${remote_tar_path} && rm ${remote_tar_path}"

    # --- 5. Clean up local tar file ---
    echo "Cleaning up local file ${local_tar_path}..."
    rm ${local_tar_path}

    echo ">>> Service $service preparation completed! <<<"
}

# --- Main Script Logic ---

# Check if any service names were provided as arguments
if [ $# -eq 0 ]; then
    echo "Usage: $0 <service_name_1> [<service_name_2> ...]"
    echo "Example: $0 go-markdown-blog"
    exit 1
fi

# Loop through each service name provided as an argument and deploy it
for service_name in "$@"; do
    deploy_service ${service_name}
done

# --- 6. Restart the application on the production server ---
echo "Restarting application container(s) on ${PROD_SERVER}..."

# This section stops/removes the old container and starts a new one.
# It uses the 'temp-blog-test' name from our manual example.
ssh ${REMOTE_USER}@${PROD_SERVER} << 'EOF'
  CONTAINER_NAME="temp-blog-test"
  IMAGE_NAME="go-markdown-blog:latest" # Ensure this matches the image loaded

  # Check if the container exists by name
  if docker ps -a --format '{{.Names}}' | grep -q "^${CONTAINER_NAME}$"; then
    echo "Container ${CONTAINER_NAME} exists. Stopping and removing..."
    docker stop ${CONTAINER_NAME} || true # Ignore error if already stopped
    docker rm ${CONTAINER_NAME} || true # Ignore error if already removed
    echo "Old container removed."
  else
    echo "Container ${CONTAINER_NAME} does not exist. Skipping removal."
  fi

  # Start a fresh container
  echo "Creating new container ${CONTAINER_NAME} from image ${IMAGE_NAME}..."
  docker run -d --name ${CONTAINER_NAME} -p 80:8080 ${IMAGE_NAME}
  echo "New container started successfully."
EOF

# --- Example Docker Compose Restart (commented out) ---
# PROD_COMPOSE_DIR="${REMOTE_BASE_DIR}/go-markdown-blog" # Example path
# ssh ${REMOTE_USER}@${PROD_SERVER} "cd ${PROD_COMPOSE_DIR} && docker compose down && docker compose up -d --force-recreate"

echo ">>> Deployment process completed successfully! <<<"
How it works:
- Configuration: Easily set your server address, username, and directories at the top.
set -e: Makes the script exit immediately if any command fails.deploy_serviceFunction: Handles the build-save-transfer-load logic for one service.- Architecture (
buildx): Pay attention to thedocker buildxcommand. Use the correct--platformflag based on your machine’s architecture (e.g.,linux/arm64for Apple Silicon M1/M2) and your server’s architecture (oftenlinux/amd64for Intel/AMD orlinux/arm64for ARM-based servers like Hetzner’s Ampere). If both are the same standard x86_64, the plaindocker buildmight work fine. - Arguments (
$@): Lets you deploy specific services by passing their names when running the script (e.g.,./deploy.sh go-markdown-blog). - Restart Logic: The final
sshcommand block connects to the server, finds the old container by name (temp-blog-test), stops and removes it, and then starts a new one from the fresh image. (I’ve also included commented-out lines showing how you might restart using Docker Compose).
Putting the Script to Work
- Save: Save the code above as
deploy.shin your project’s root directory. - Make Executable:
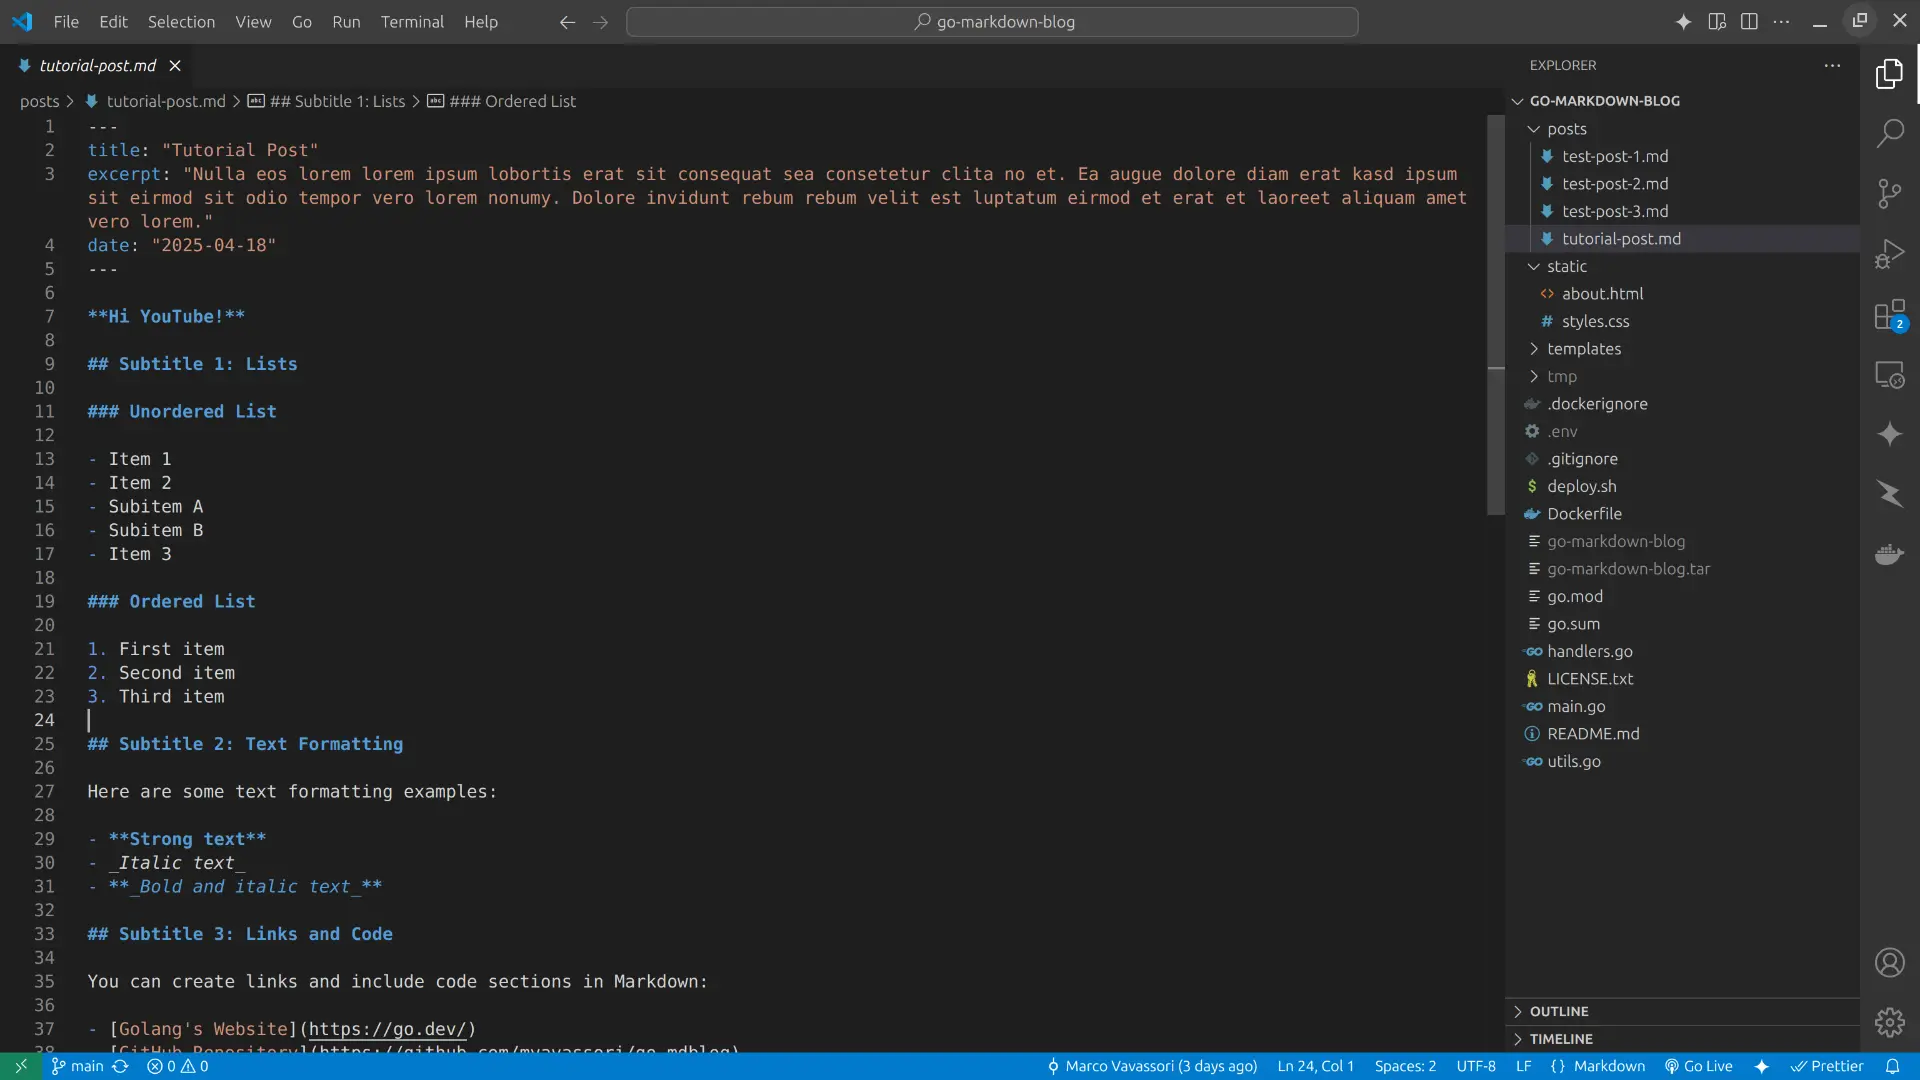
chmod +x deploy.sh - Create New Content (Example): Let’s add a new blog post file (e.g.,
posts/tutorial-post.md) to see the update:
- Run the Script:
./deploy.sh go-markdown-blog
Watch the script execute each step.
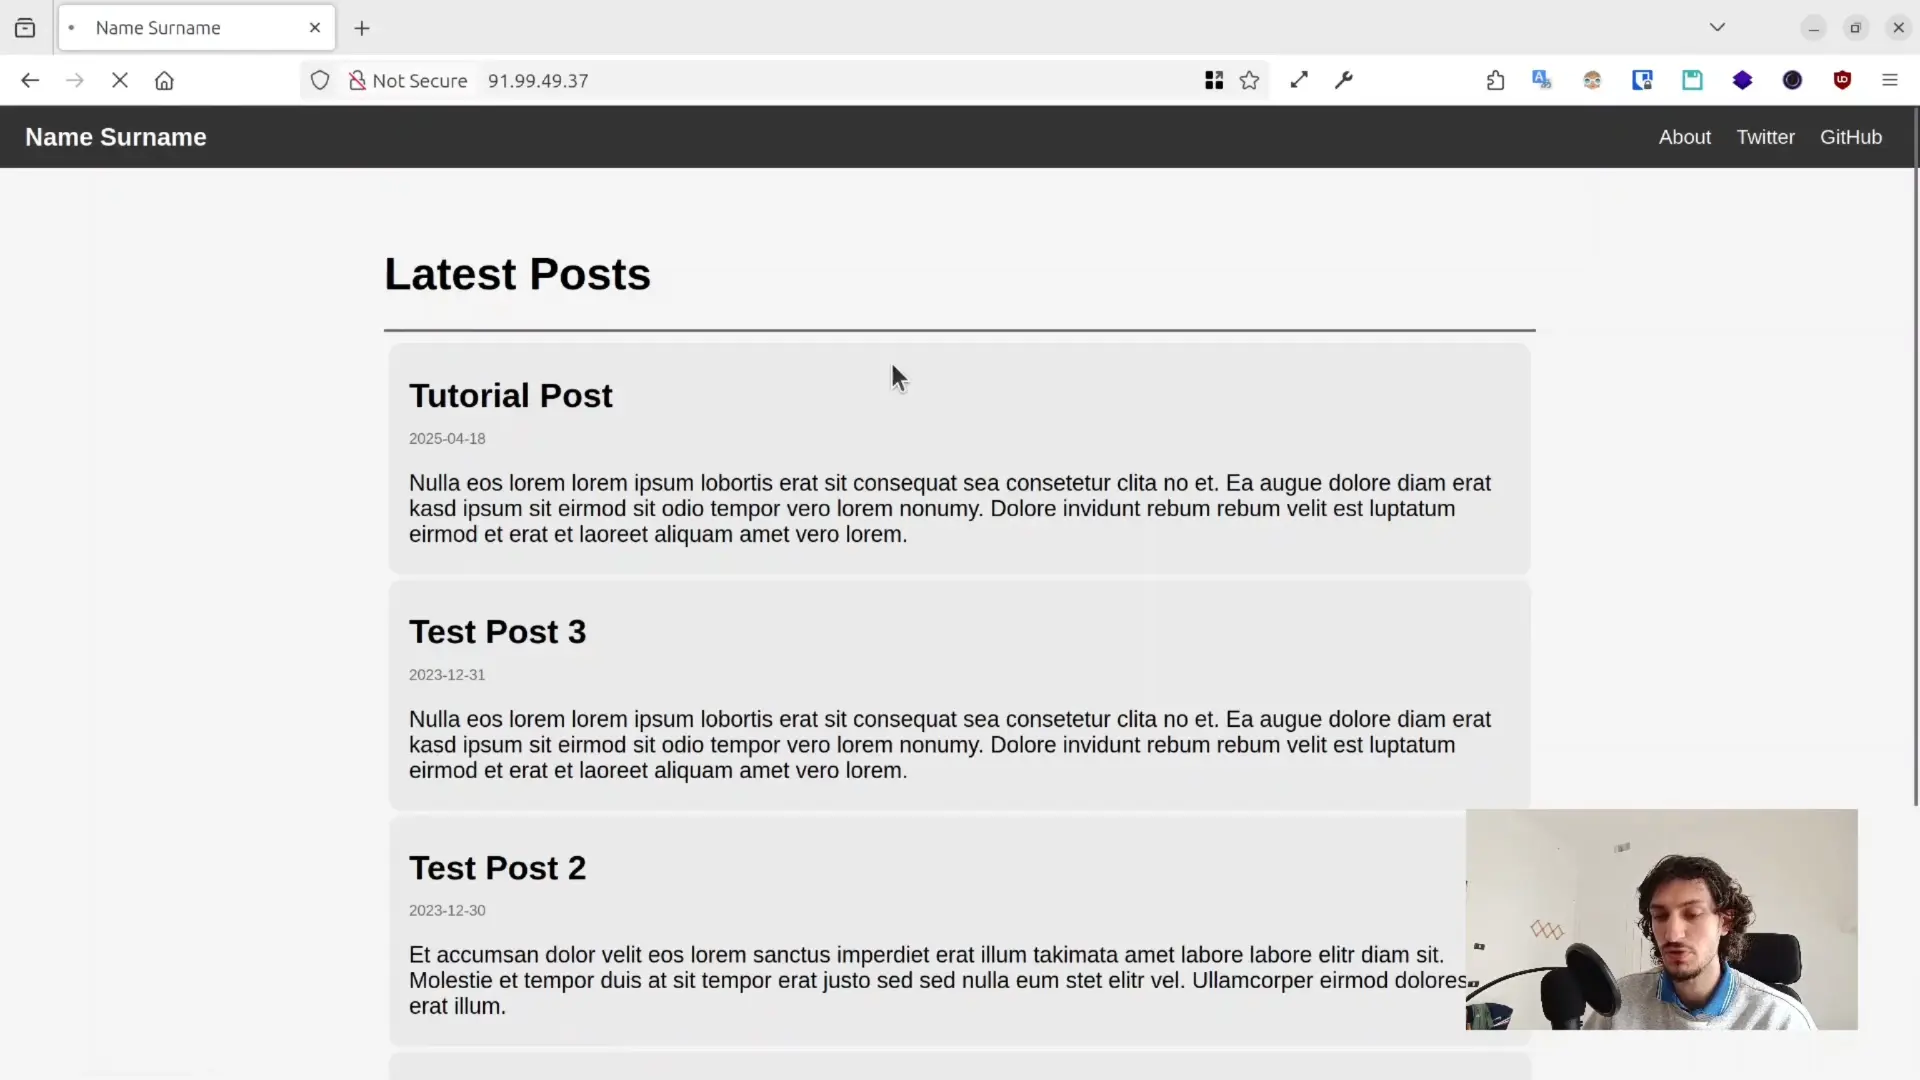
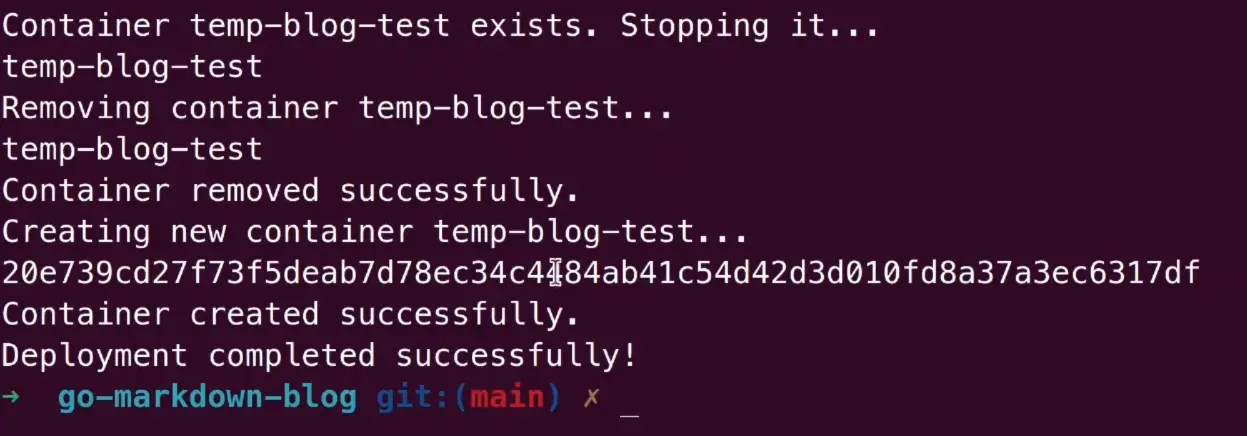 Once it finishes, go back to your browser and refresh the page showing your server’s IP address. You should now see the “Deployed via Script!” post. Success!
Wrapping Up
So there you have it – a straightforward way to get your Docker containers from your local machine onto a production server using native Docker commands, scp, ssh, and a simple bash script. No need for complex pipelines or registries for these simpler use cases!
What’s Next?
This is a solid foundation, but for a more robust setup, we’ll want to evolve. In upcoming posts/videos, we’ll explore:
- Using Docker Compose to manage multi-container applications.
- Setting up a Reverse Proxy (like Nginx or Traefik) to handle traffic and host multiple sites.
- Adding SSL Certificates (via Let’s Encrypt) for secure HTTPS connections.
- Pointing a Custom Domain to our application.
That’s it for now. Stay tuned for the next steps!
Ciao!
